To customize your party invitation with the details of your event, follow these steps:
Step 1: Access the "Details" screen
There are two ways you can access this screen...
- You will be automatically forwarded to this page when creating a new invitation, after selecting your design (and logging in / registering your account).
- You can come back to this page anytime by opening the event and clicking on "Details" in the top navigation bar
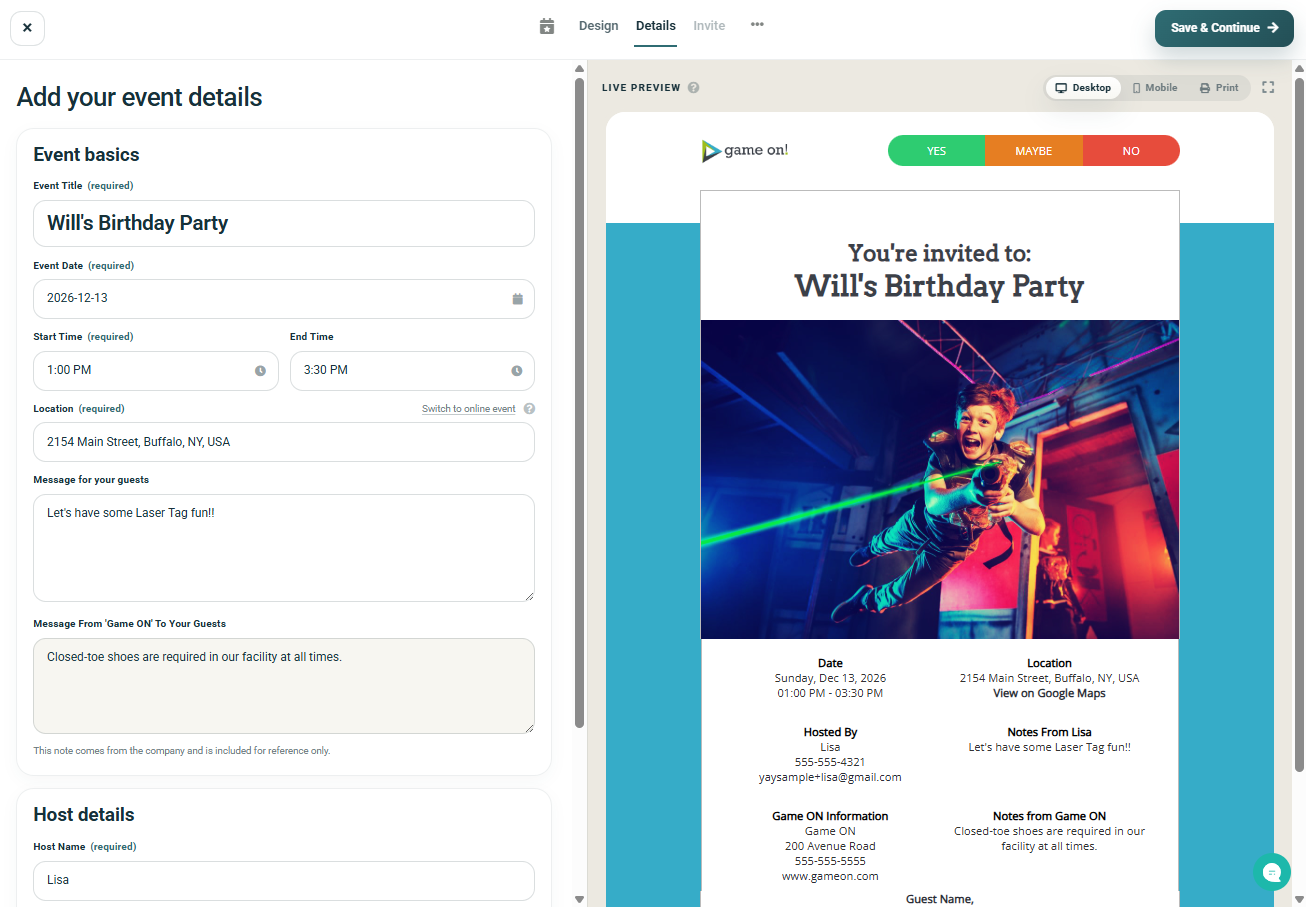
Step 2: Fill in your event information
You can add details like:
- Event Title (required)
- Event Date (required)
- Start Time (required)
- End Time (optional)
- Location (required, you can choose to make this a "Virtual Event", which will require a valid URL to be added)
- Message To Your Guests (optional)
- Party Host Name (required)
- Your Phone Number (optional, can also choose to show or hide it on the invitation)
- Your Email Address (optional, can also choose to show or hide it on the invitation)
As you fill in your details, you'll can see a preview of your invitation with your details filled in in the Live Preview Panel.
Step 3: Click "Save & Continue" button to save
This will save your invitation and will then take you to the 'Invite' screen.